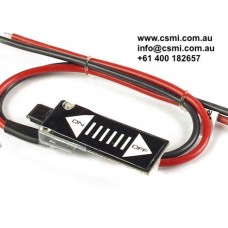
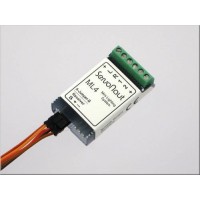
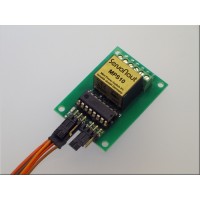
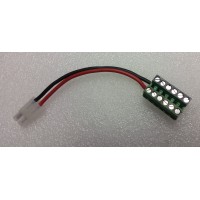
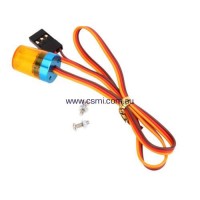
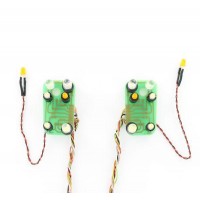
P switch ON / OFF power switch
P switch ON / OFF power switch
| Roof Lights | |
| RC light option | Light switches |
| Scale | |
| 1/14 RC Scale | Light switches |
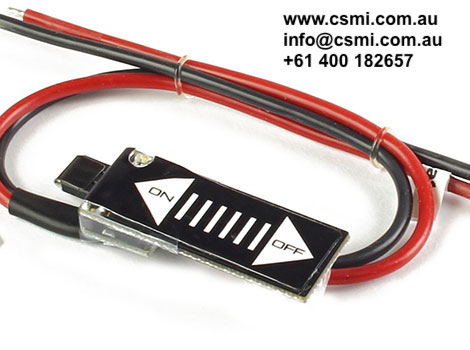
Advance P switch is an electronic device that can be used to turn ON and OFF the electronics in all construction and truck models
. The P Switch is designed as electronic power switch for receiver power supply or turn On/Off the battery in your models. You do not need any additional devices, for control electronic switch, you need your finger only.
Perfect safety and robustness.
Virtually unlimited number of switching cycles.
Last power-on status is stored in the internal memory.
Configurable touch sensitivity.
Very low standby current.
FEATURES
The P switch is an electronic device that can be used to turn ON and OFF the electronics inyour RC truck or construction model. The P switch is designed as electronic power switch for receiver power supply or turn On/Off ignition in your models. You do not need any additional devices, for control electronic switch, you need your finger only.
Perfect safety and robustness.
Virtually unlimited number of switching cycles.
Last power-on status is stored in the internal memory.
Configurable touch sensitivity.
Very low standby current.
CONNECTION AS RECEIVER BATTERY SWITCH
Plug the device between receiver and battery. If you use a BEC, plug the Touch Power Switch between battery and the BEC.1
CONNECTION TO SWITCH ON/OFF IGNITION
INSTALLATION
Place the P switch anywhere on the outside of the model . Please note,that if you install the switch inside the, the maximum allowed surface thickness must not exceed 3mm and the material must be non-conductive (wood, glass fiber, etc.).
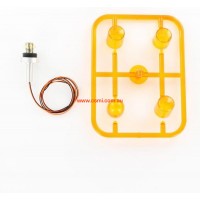
Make the status LED visible from outside the and put the “touch swipe” sticker on top of the touch surface. Connect the battery to the Touch Switch and briefly touch the button at OFF position. Status LED should start slowly blinking. If not, please increase the touch sensitivity parameter in the device configuration.
After the LED starts blinking, swipe your finger from “OFF” position to the “ON” position. The LED will increase blinking frequency. At this moment, release the touch button. The main output will stay activated.
Installation inside/outside the fuselage: 1. Touch Switch, 2. Status LED, 3. Double-sided adhesive tape, 4. Fuselage (max. 3mm in case of installing inside), 5. Hole for LED (3mm) or electronics. 6. Sticker.
2
Turn off: Slide your finger from left to right Turn on: Slide your finger from right to left.
| Roof Lights | |
| RC light option | Light switches |
| Scale | |
| 1/14 RC Scale | Light switches |

